How To Choose The Right Wood Finishing Supplies
Finishing is where craftsmanship truly shows — it’s the last line of defense for your hard work and the first thing a client or you will see after the project’s complete. Pick the wrong supplies, and all your careful joinery and surface prep go straight to hell. Choosing quality finishing supplies isn’t about chasing cheap thrills; it’s about understanding what works with your wood, your tools, and your finish goals. Skimping here costs more in time, money, and reputation.
INTRO
If you’re serious about woodworking, treat your finishing process like the precision operation it is. The right tools and materials will give you control, consistency, and a professional-looking result that lasts. This guide cuts through the nonsense — no hype, just real-world advice from a master who’s been there. Let’s get your finish right the first time.
Table of Contents
Understanding Wood Characteristics
Before you even pick a finish, you need to understand what kind of wood you’re dealing with. Softwoods like pine or cedar soak up finishes differently than dense hardwoods like maple or cherry. Grain direction and porosity influence how your finish adheres and dries, so don’t gloss over this step. For instance, softwoods often require a sealer or sanding sealer to prevent blotchiness, especially on open-grain species like oak.
Pay close attention to your wood’s grain pattern and moisture content. A piece with irregular grain or knots might need additional prep and a finish designed to sit smoothly over uneven surfaces. Remember: finishing is not just about what you put on — it’s about what the wood accepts and how well it showcases your work. Knowledge here saves a lot of frustration down the line.
Types of Finishes & When to Use Them
There’s no one-size-fits-all in finishing. Lacquer, Danish oil, conversion varnish — each has its place. Lacquer dries fast, builds a tough layer, and leaves a glossy finish, great for furniture that gets regular use. But it’s brittle and requires good ventilation. Oil finishes, like Tung or Linseed oil, penetrate deep, bringing out the wood’s character, but they need maintenance and are less resistant to water and stains.
Always match your finish to the job. Bedroom furniture may be fine with oil, but a kitchen table demands something more resilient like a conversion varnish or urethane. Know your environment and the wear your piece will handle.
Choosing the Right Sealer & Primer
Sealers and primers may seem like minor steps, but they’re critical. A quality sealer enhances the adhesion of your topcoat and prevents uneven absorption, which can cause splotchiness or grain raising. Pore-filling sealers are worth their weight in gold when working with open-grain woods like oak or mahogany.
Be wary of cheap shellac or polyfill products from the hardware store. They often don’t level out or bond well, leading to rough finishes that ruin the look. Invest in a good-quality sanding sealer — it’s the backstage pass to a smooth surface. Apply thin, even coats, and sand lightly between coats with 220-grit paper for the best results.
Selecting the Right Topcoat & Gloss Level
The choice of topcoat defines the final look and durability. Matte finishes hide imperfections and are good for rustic or contemporary styles. High-gloss makes a piece pop, but shows every flaw — so prep and application must be meticulous. Satin is the sweet spot for most furniture, offering a nice balance of sheen and concealment.
Durability depends on formulation — polyurethanes and conversion varnishes are tough, while tung oil and shellac are softer. Environment matters: a piece exposed to humidity or frequent contact needs a finish that resists water and scratches.
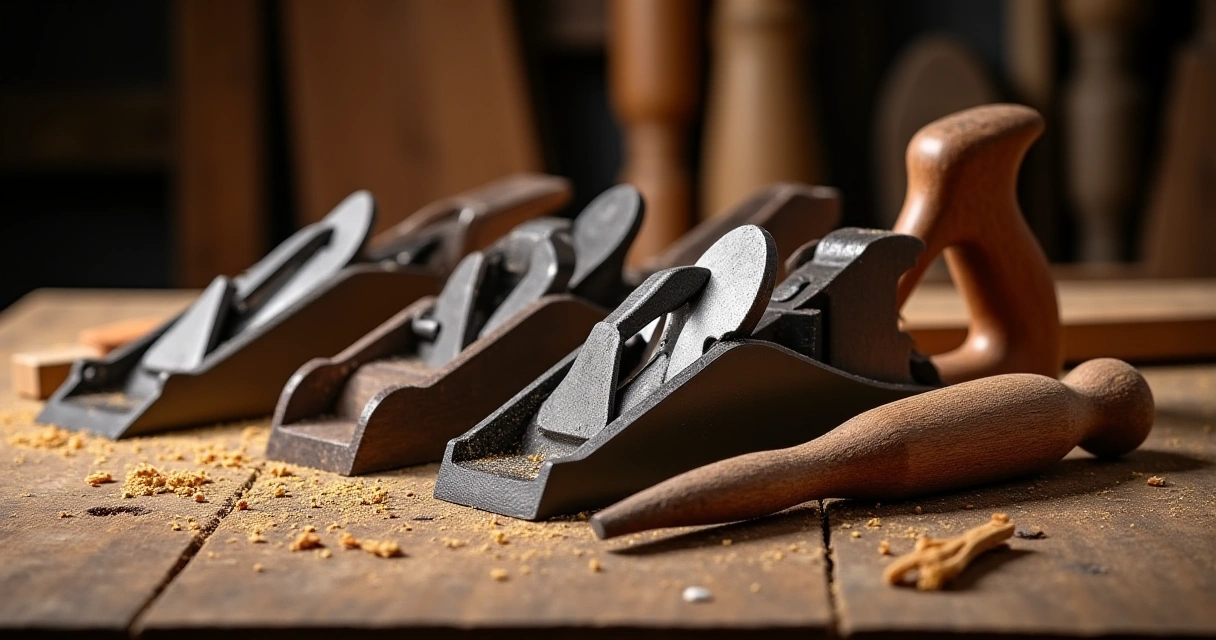
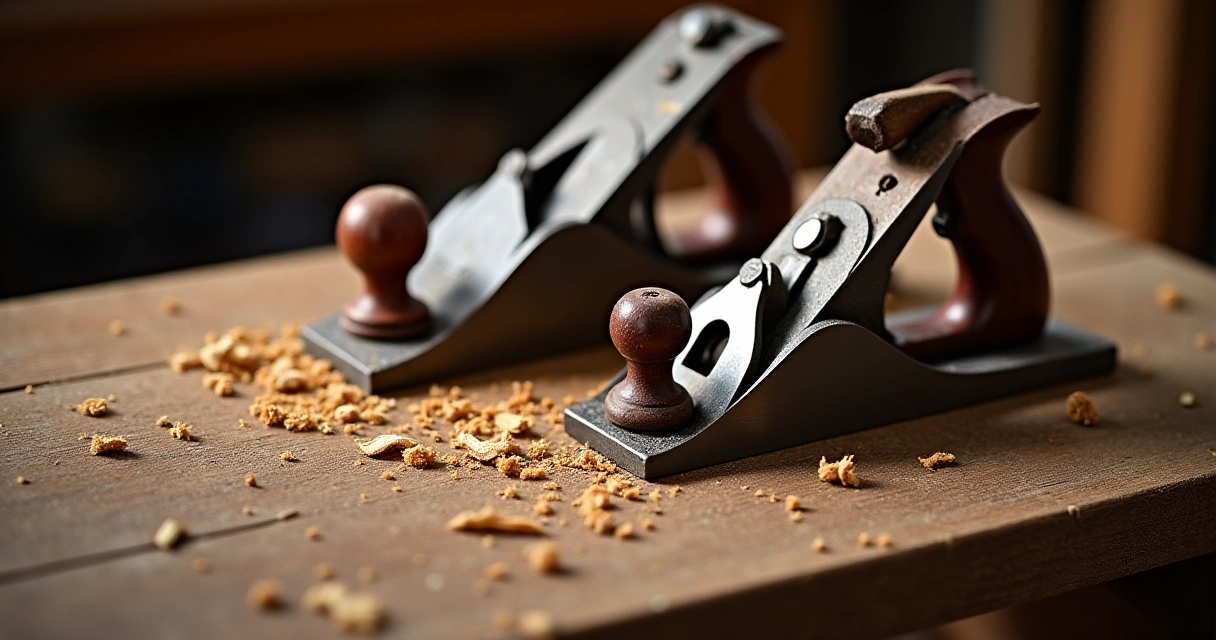
Application Tools & Techniques
Good brushing techniques matter. Use high-quality natural-bristle brushes for oil-based products and foam brushes or sprayers for lacquers. Always keep your brushes clean and free of dried finish — contaminated brushes wreck your topcoat. When spraying, mask off adjoining surfaces thoroughly, and work in a dust-free environment.
Thin coats are your friend. Applying thick coats leads to runs, drips, and uneven curing. Sand lightly (without gouging) between coats with 220 or 320 grit. Don’t rush the curing process; patience and proper ventilation ensure a finish that lasts decades, not months.
Common Mistakes & How to Avoid Them
Cheap, low-quality supplies might seem tempting but will bite you in the end. Avoid hurried applications, neglecting surface prep, and skipping sanding stages. Too many hobbyists jump into brushing or spraying without understanding how their finish interacts with the wood’s grain or moisture content.
Always read the label and ensure compatibility between your primer, sealer, and topcoat. Using incompatible products causes peeling, cloudiness, or long-term failure. When in doubt, ask a supplier who knows their stuff — old-school knowledge beats YouTube tutorials every time.
Frequently Asked Questions
Can I use the same finish on all types of wood?
No. Different woods absorb finishes differently. Open-grain woods like oak or ash need pore fillers or sealers, while dense woods like maple or cherry may require less prep but more careful finishing to prevent blotchiness.
How many coats should I apply?
Generally, two to three coats of topcoat give a durable finish. Always sand lightly between coats with fine grit paper for smoothness and adhesion. Follow manufacturer recommendations for specific products.
What’s the best finish for a high-traffic piece?
Polyurethane or conversion varnish. These are tough, resistant to scratches and moisture, and worth the effort to apply correctly. Oil finishes look nice but won’t cut it in busy environments.
Should I buff or polish my finish?
If you want an ultra-smooth, glassy surface, a light buff with fine steel wool or polishing compounds can help. But only after the finish has fully cured. Don’t rush this step; rushing leads to marring your work.
How long should I wait before using the finished piece?
Most finishes need at least a week to cure fully for normal use—longer if heavily applied. Read your product’s instructions because curing times vary. Patience here saves headaches.
CONCLUSION
Choosing the right finish isn’t about chasing the latest gimmick; it’s understanding your wood, your environment, and what you want to achieve. Invest in quality supplies, follow proper techniques, and never cut corners — the finish is what elevates craftsmanship into art. Now, go select your supplies with confidence and finish like a pro.
Next step? Test your products on scrap, master your technique, and then breathe life into your masterpiece. The shop’s waiting.